Painting cedar shingles: Imagine your property standing out with a timeless, natural charm that entices your home’s exterior draped in the warm, inviting hues of beautifully painted cedar shingles. These timeless shingles adorn over 60% of residential properties in Massachusetts, lending a rustic charm that complements the region’s architectural heritage. However, maintaining their beauty requires more than a fresh coat of paint.
In this guide, we’ll explore the art of painting cedar shingles and cover everything you need to know. Read on.
What are Cedar Shingles?
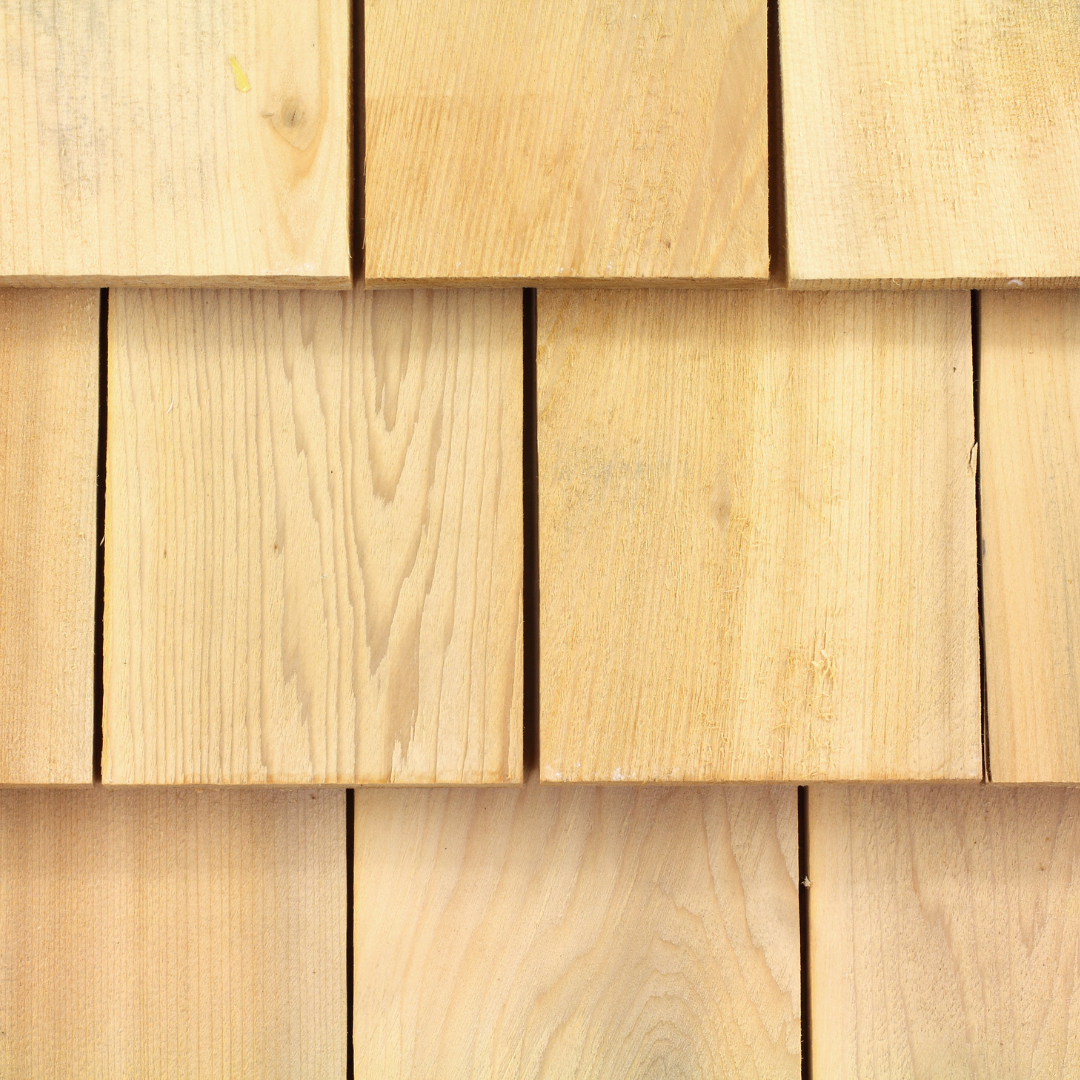
Cedar shingles are a popular choice for exterior siding due to their natural beauty and durability. Made from the wood of cedar trees, these shingles offer a warm, rustic charm that adds character to any home. Cedar is naturally resistant to insects, rot, and moisture, making it an excellent choice for areas with harsh weather conditions.
One of the main benefits of cedar shingles is their longevity. They can last for decades, providing a long-lasting, cost-effective solution for your home’s exterior. Additionally, cedar shingles are eco-friendly, as they are a renewable resource and biodegradable.
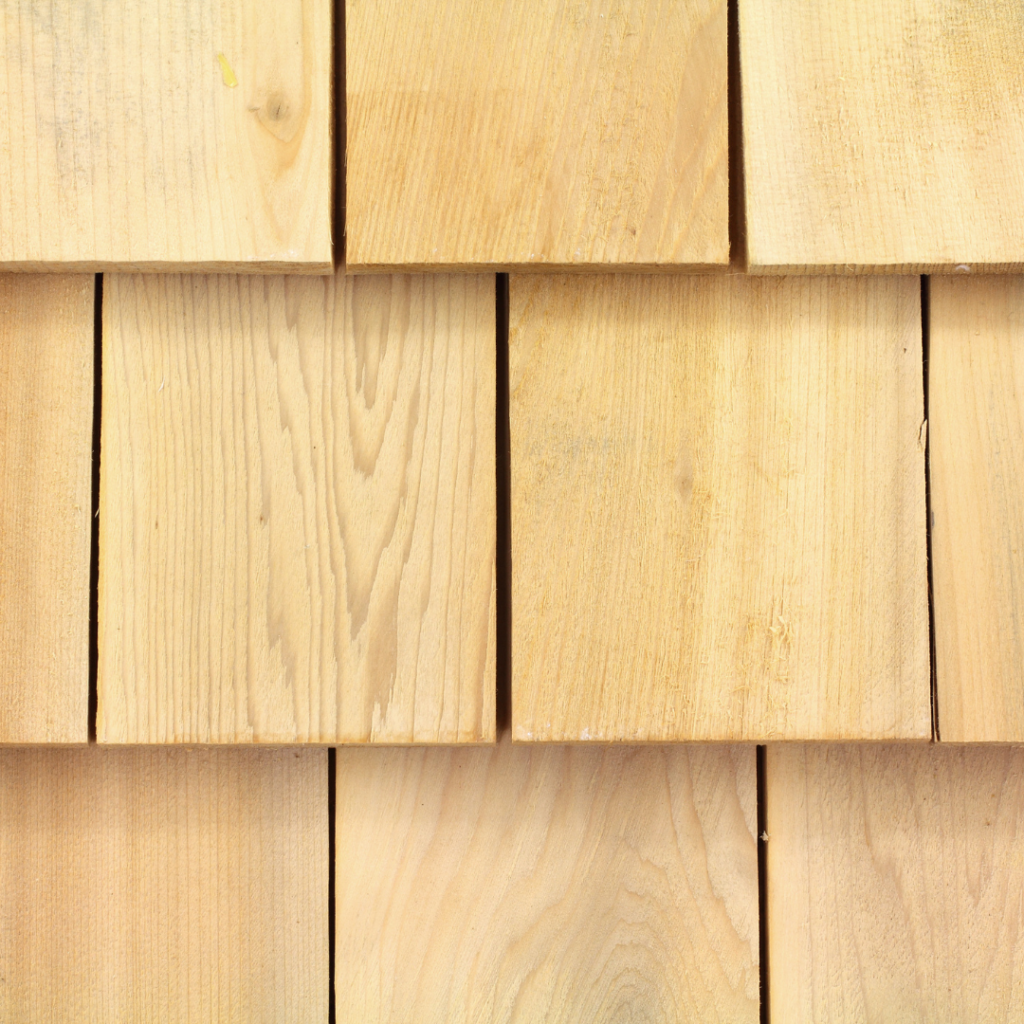
Cedar shingles have been a popular choice in New England for generations. They blend seamlessly with the region’s architectural styles and natural landscapes, and their timeless appeal has made them a staple in many historic homes and contemporary builds.
What are the Factors To Consider Before Painting Your Cedar Shingles?
While cedar shingles are naturally beautiful, many homeowners choose to paint them to enhance their appearance or protect them from the elements. However, before embarking on a painting project, there are several factors to consider:
Condition of the shingles: Assess the condition of your cedar shingles. If they are severely damaged or deteriorated, replace them rather than paint over them.
Type of paint: Choose a high-quality, exterior-grade paint designed for cedar shingles. These paints are formulated to withstand harsh weather conditions and protect the wood from UV rays and moisture.
Preparation work: Proper preparation is critical to ensuring a successful paint job. This may involve cleaning the shingles, removing loose or peeling paint, and addressing any needed repairs or replacements.
How to Paint Cedar Shingles
Once you’ve considered the necessary factors, it’s time to start painting. Here’s a step-by-step guide to help you achieve professional-looking results:
Step 1: Clean the shingles
Begin by thoroughly cleaning the shingles to remove dirt, mildew, or debris. Use a soft-bristled brush and a mild detergent solution, and rinse thoroughly. This step is crucial for ensuring proper paint adhesion.
Step 2: Repair any damaged shingles
Inspect the shingles for cracks, splits, or damage, and replace or repair them as needed. This will ensure a smooth and uniform surface for painting.
Step 3: Apply a primer
After the shingles are clean and repaired, apply a high-quality, exterior-grade primer designed explicitly for cedar shingles. This will help the topcoat adhere better and provide additional protection for the wood.
Step 4: Paint the shingles
Once the primer has dried, it’s time to apply the topcoat. Use a high-quality, exterior-grade paint designed for cedar shingles, and follow the manufacturer’s instructions for application and drying times.
Step 5: Apply a top coat (optional)
For added protection and a longer-lasting finish, you may choose to apply a clear, water-repellent top coat over the painted shingles. This will help prevent moisture damage and extend the life of your paint job.
How Can You Maintain Painted Shingles?
To ensure your painted cedar shingles look their best for years to come, proper maintenance is essential:
Regular cleaning: Periodically clean the shingles with a soft-bristled brush and a mild detergent solution to remove any dirt, debris, or mildew buildup. This will help prevent premature fading or deterioration of the paint.
Inspecting for damage: Inspect the shingles for any signs of cracking, splitting, or peeling paint. Address any issues promptly to prevent further damage.
Repainting when necessary: Even with proper maintenance, painted cedar shingles will eventually need to be repainted. Look for signs of fading, chalking, or wear, and plan to repaint every 5-7 years or as needed.
How Often Should I Repaint Cedar Shingles?
The lifespan of painted cedar shingles can vary depending on several factors, such as the quality of the paint, the preparation work, and the exposure to weather conditions. However, as a general rule, most experts recommend repainting every 5-7 years.
Some signs that it’s time to repaint your cedar shingles include:
- Fading or chalking of the paint
- Peeling or cracking paint
- Visible wear or damage to the shingles
Proper maintenance, such as regular cleaning and inspections, can help extend the life of your paint job. However, even with the best care, eventually, the shingles will need to be repainted to maintain their attractive appearance and protect the wood from the elements.
#1 Painting Solution For Exterior Painting
Are you considering painting or repainting your cedar shingles? Trust the experts at Link Solutions Painting Company. As a top commercial painting company in Massachusetts, we have the experience and expertise to ensure a beautiful, long-lasting finish for your property. Contact us today at 339-230-7993 to schedule a consultation and help us bring new life to your cedar shingles. Check us out on Google.